What is a Smart Object and how do you use them for mockups?
Share
In this blog we're taking a look at Photoshop Smart Objects, how they're used and how you can best utilise them for your own designs.
In simple terms, a Smart Object is a layer used in Photoshop which allows you to make unlimited changes without losing quality or the original properties of that layer.
Smart Object product mockups can be a great way to show how your artwork, designs or photographs will look on a wide range of products without having to create or purchase physical samples to photograph.
We supply a range of Smart mockups on Artovo and below we will delve into how to use these Photoshop files.

How to Use Our Mockups.
Our Mockups use Smart Objects to make it easy for our customers to put their designs onto our products. Here’s a simple step by step guide to using them:
Step 1: Download Your Mockup
Simply visit the product page of the item you want to create a mockup for and scroll to the bottom where you will find our print ready template and our mockups. Click on the mockup button to download it. Then open it in Photoshop.

Step 2: Find The Smart Object Layer
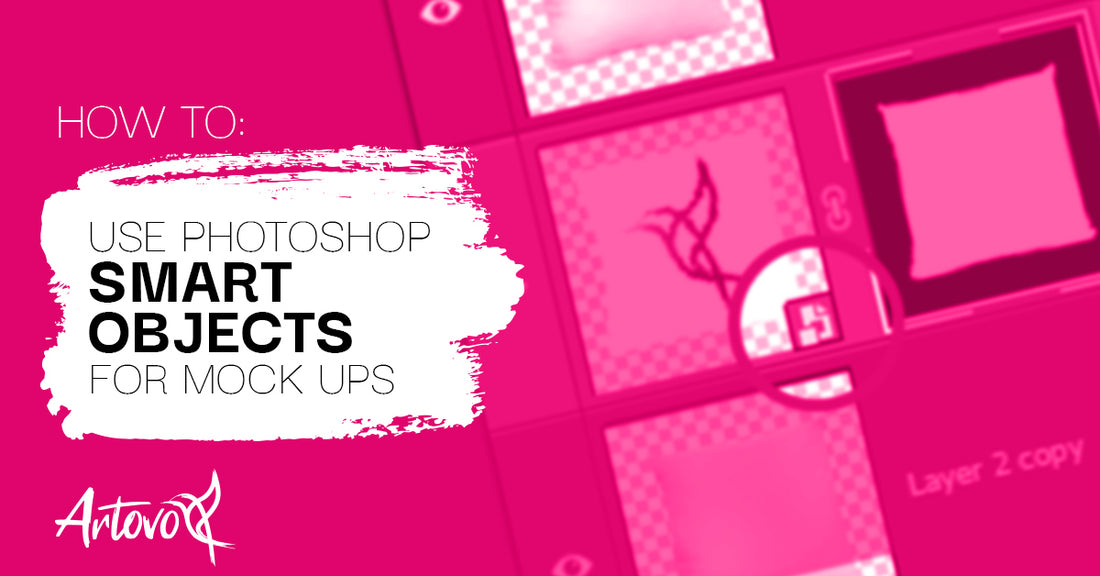
Now that your smart object mockup is open in Photoshop, the fun starts. You should see your layers panel to the right of photoshop (if not, select "Window" from the top menu then choose "Layers"). Locate the Smart Object layer, this will have a small grey box in the corner of the layer thumbnail, this is the one you want!

Top Tip!
If your layer thumbnails are too small to clearly see the icon, simply right click in the empty portion of the layers panel and choose your thumbnail size.
Step 3: Place Your Image
Double click on the Smart Object layer which will open a new file. Take your own design and drop it into this new file layer, making sure your image is the topmost image or any other layers beneath are hidden. Then save and close this newly opened file.

Step 4: Adjust As Necessary.
Return to the original file and your image should now be correctly placed on the mockup image - This can take a moment or two. If you feel the mockup needs tweaking, you can simply double click back on the smart layer and adjust your image as needed. Remember to save the smart object file whenever you make changes to update the mockup

Step 5: Save!
Save/Export the mock up file as a JPG or PNG for web use, ready to use on your website or selling platform to help give your customers a view of what your products will look like!
We hope this has given you a little more insight into how our smart objects work and explained a little more about our mockups!
Want to get started right away? Click the below links to download an 18"x18" photoshop cushion template (left) or a photoshop tote bag template (right)!

